
How Long to Water New Sod With a Sprinkler: Week-by-Week Schedule + Exact Run Times
Most new sod doesn’t die because of bad soil or cheap grass. It dies because of a watering mistake made in the first two weeks.
Too little water and the roots dry out before they can anchor. Too much water and the roots suffocate, turning your fresh lawn into a soggy, fungus-prone mess. And most watering guides online give you vague advice like “keep it moist” — without telling you exactly how many minutes to run your sprinkler, or how that changes based on the type of sprinkler you have.
That changes today. Here’s exactly how long to water new sod with a sprinkler, broken down week by week, by sprinkler head type, with a quick-reference table you can bookmark and come back to.
How Long to Water New Sod With a Sprinkler: The Quick Answer
For the first two weeks, water new sod 2–3 times per day. Run spray/pop-up heads for 10–15 minutes per cycle and rotary/rotor heads for 15–20 minutes per cycle. After Week 2, shift to deeper, less frequent watering to encourage root growth.
Here’s the full schedule at a glance:
| Phase | Frequency | Spray/Pop-Up Heads | Rotary/Rotor Heads | Depth Goal |
|---|---|---|---|---|
| Install Day | 1–2x | 20–30 min | 45–60 min | 3–4 inches deep |
| Week 1 | 2–3x/day | 10–15 min | 15–20 min | Top 1–2 inches moist |
| Week 2 | 1–2x/day | 15–20 min | 20–25 min | 2–3 inches deep |
| Weeks 3–4 | Every other day | 20–25 min | 30–40 min | 3–4 inches deep |
| Month 2+ | 2–3x/week | 25–30 min | 35–45 min | Normal lawn depth |
Important: These are starting points. Your actual run time depends on your sprinkler’s output rate, soil type, and weather. More on that below.
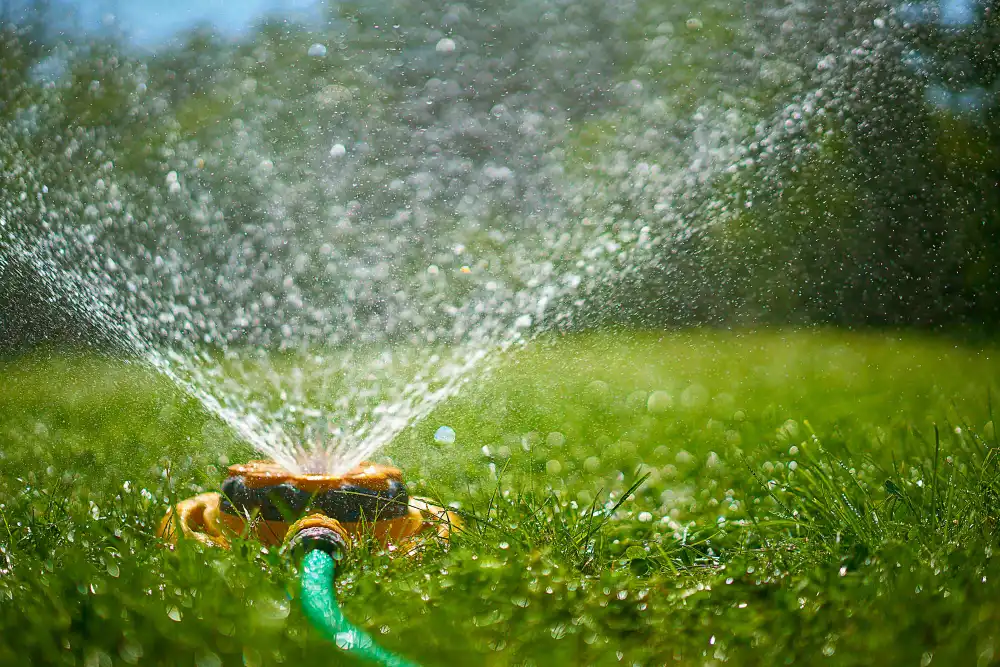
Week-by-Week Sprinkler Watering Schedule for New Sod
Installation Day: Start Watering Before You’re Done Laying
Don’t wait until the last roll is down. Start watering each section as soon as it’s laid — sod can begin to dry out and shrink within hours on a warm day.
On installation day, your goal is to push water 3–4 inches into the soil beneath the sod. This initial deep soak is critical because it closes air gaps between the sod and the soil, which is where root knitting begins. Root knitting is the process by which sod’s roots interweave with the soil below — it’s what transforms loose rolls of grass into a permanent, anchored lawn.
If you see water running off before it soaks in, use the cycle and soak method: run your sprinkler for 15–20 minutes, pause for 20 minutes, then run again. This gives the soil time to absorb water instead of letting it sheet off. This is especially important on sloped yards or clay soils — both of which resist fast water absorption.
Check your depth by pushing a screwdriver straight into the ground — it should slide in easily to 3–4 inches. If it hits resistance at 1–2 inches, keep watering.
Week 1: Keep It Consistently Moist (This Is the Critical Window)
This is the week that makes or breaks your new lawn.
Your sod arrives with very shallow roots — often less than an inch deep. The entire goal of Week 1 is to keep the top 1–2 inches of soil consistently moist so those roots never dry out before they have a chance to grow.
Water 2–3 times per day, spread across the morning and early afternoon. Don’t water in the evening — wet grass overnight is one of the leading causes of fungal disease in new sod, including brown patch and pythium blight. Pythium blight, in particular, can spread rapidly in warm, wet overnight conditions and is notoriously hard to reverse once established.
What to watch for:
- Sod edges curling upward → not enough water, add a cycle
- Squishy or soggy feel underfoot → too much water, skip a cycle
- Seams pulling apart → dry spots, check sprinkler coverage at those edges
Week 2: Start Tapering Frequency
By Week 2, if things are going well, the roots are beginning to reach into the soil below. You can feel this change — the sod will start to resist when you tug a corner.
This is the week you shift from “survival watering” to “root encouragement.” Reduce watering to 1–2 times per day and slightly increase the run time per cycle. The idea is to push water a little deeper — 2–3 inches — so roots chase the moisture downward instead of staying shallow.
Do the tug test: Grab a corner of the sod and gently pull upward. In Week 1, it lifts easily. By the end of Week 2, it should feel like it’s starting to grab. That resistance means roots are anchoring. Never force the pull — you’ll damage the roots you’ve been working so hard to grow.
Weeks 3–4: Deep, Infrequent Watering Begins
Here’s where most homeowners go wrong — they keep watering on the Week 1 schedule out of habit and accidentally train the roots to stay shallow.
Pull back to watering every other day, but run each zone significantly longer. The goal is to wet the soil 3–4 inches deep. This forces roots to grow downward to find moisture, which is exactly what you want. Deep roots equal a drought-resistant lawn that needs far less babysitting down the road.
By the end of Week 4, the tug test should confirm that you can no longer lift a corner of the sod. That’s your sign it’s time to transition to a normal established lawn watering schedule: typically 1 inch of water per week, split into 2–3 sessions.
How Sprinkler Type Changes How Long You Water New Sod
This is the detail that almost every other watering guide skips. Your neighbor running the same schedule as you might be applying twice as much water — or half as much — simply because they have a different type of sprinkler head.
Spray / Pop-Up Sprinkler Heads
Spray heads deliver water fast and evenly over a fixed area. They have a high precipitation rate — meaning they dump water quickly — which makes them ideal for small zones but can cause runoff on compacted or clay soils before the ground has a chance to absorb it.
- Week 1 run time: 10–15 minutes per cycle
- Best approach: Short, frequent cycles work better than long single soaks
- Watch for: Puddles forming at 5–8 minutes → switch to the cycle-and-soak method
Rotary / Rotor Sprinkler Heads
Rotor heads rotate slowly and deliver water over a wider area at a lower precipitation rate. This means less runoff risk and more even coverage — but you need to run them longer to reach the same soil depth.
- Week 1 run time: 15–20 minutes per cycle
- Best approach: Can typically run a single longer cycle without puddling
- Watch for: Dry edges in the rotation arc — rotors can miss spots if head spacing isn’t quite right
Oscillating or Portable Sprinklers
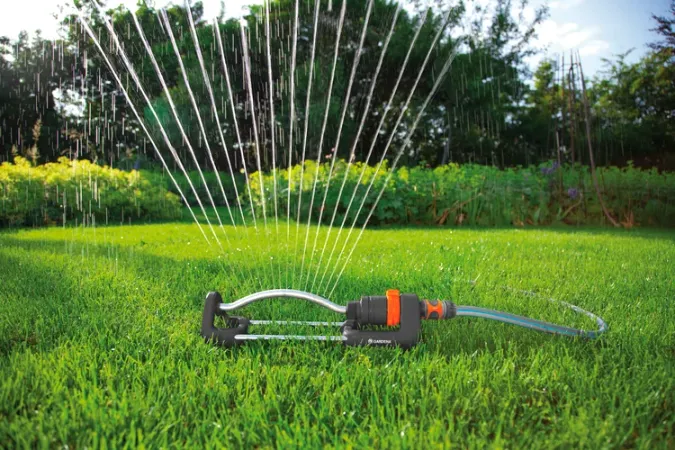
If you’re using a hose-end oscillating sprinkler, your coverage and output rate varies widely by model and water pressure. These are completely fine for smaller lawns but require more hands-on monitoring than built-in systems.
- Week 1 run time: 12–18 minutes per pass, with overlapping patterns
- Best approach: Reposition to ensure full coverage, especially at sod edges and seams
- Watch for: Dry seams between sod rolls — a common miss with portable sprinklers that have fixed patterns
The Catch Cup Test: Measure Your Sprinkler’s Actual Output
Not sure how much water your sprinkler is actually putting out? Do the catch cup test. Place several empty tuna cans or rain gauges around your lawn, run your sprinkler for exactly 15 minutes, then measure the water depth in each can.
- Goal: 0.25–0.5 inches of water collected per 15-minute cycle in Week 1
- If you’re getting more: Shorten your run time or use cycle-and-soak
- If you’re getting less: Increase run time or check for low water pressure issues
This one test takes 15 minutes and removes all the guesswork from your entire watering schedule.
Signs Your New Sod Has Too Much or Too Little Water
Signs of Underwatering New Sod
| Symptom | What It Means | Fix |
|---|---|---|
| Edges curling upward | Surface drying between cycles | Add one short mid-day cycle |
| Gray-blue color | Grass under heat stress | Water immediately, then reassess frequency |
| Shrinking gaps between rolls | Sod drying and contracting | Increase frequency, check seam coverage |
| Footprints staying visible | Grass not rebounding | Sod is stressed — water right away |
Signs of Overwatering New Sod
| Symptom | What It Means | Fix |
|---|---|---|
| Squishy or soggy underfoot | Waterlogged soil, roots suffocating | Skip a full cycle, assess drainage |
| Yellow or pale patches | Oxygen-starved roots or fungal growth | Reduce frequency, check for pooling |
| Fungal smell or mushroom growth | Disease developing | Cut evening watering, apply fungicide if needed |
| Sod lifting easily after 2 weeks | Roots not knitting — possible rot | Reduce watering, let top inch dry before next cycle |
Pro Tips for Watering New Sod With a Sprinkler
Water early in the morning. The ideal window is between 5 a.m. and 9 a.m. Cooler temperatures reduce evaporation loss, and the grass blades dry completely before nightfall — which dramatically lowers fungal disease risk.
Never water late at night. Wet grass overnight creates the exact conditions that brown patch and pythium blight thrive in. Even one week of late-evening watering can trigger an outbreak that’s expensive and time-consuming to fix.
Use a timer or smart irrigation controller. Consistency is more important than perfection in the first two weeks. Missing a cycle on a 95°F day can set your sod back significantly. A smart irrigation controller will also automatically pause watering when it rains, preventing the oversaturation that kills more new sod than drought ever does.
Check edges and seams every day. Sprinklers frequently miss the very edges of a lawn and the seams between sod rolls — precisely the areas most vulnerable to drying. Walk your yard after the first morning cycle and hand-water any spots your system doesn’t fully reach.
Keep foot traffic off. New sod needs zero stress during establishment. Keep people, pets, and all equipment off the grass for at least two weeks. Foot traffic compresses the sod before roots have anchored, disrupting the crucial contact between sod and soil.
Adjust for weather, not just the calendar. On days above 90°F or in high wind, add an extra short cycle in the early afternoon. On cool, overcast days, skip one cycle entirely. The sod itself — not your schedule — is the best indicator of what it needs.
Frequently Asked Questions About Watering New Sod With a Sprinkler
How many minutes should I run sprinklers on new sod each day?
In Week 1, run spray heads for 10–15 minutes and rotor heads for 15–20 minutes, repeated 2–3 times per day. Total daily run time per zone typically adds up to 30–45 minutes — but always split across multiple shorter cycles rather than one long session. Long single soaks cause runoff before the water has a chance to penetrate.
Can you overwater new sod with a sprinkler?
Yes — and it’s more common than most homeowners realize. Overwatered sod feels squishy underfoot, develops yellow or pale patches, and may smell faintly sour. Roots in waterlogged soil can’t access oxygen, which stunts their growth or causes rot. If your soil stays soggy between watering cycles, reduce frequency first before adjusting run time.
How long does new sod take to root?
Under ideal conditions, new sod begins developing roots within 7–10 days and reaches full establishment in 2–6 weeks, depending on grass type, soil temperature, and climate. Warm-season grasses like Bermuda and Zoysia root quickly in summer heat. Cool-season grasses like Tall Fescue and Kentucky Bluegrass tend to establish faster in fall. The tug test is the most reliable indicator — when a corner of sod no longer lifts off the ground, the roots have anchored.
Should I water new sod every day?
Yes, every day — for the first two weeks. After that, intentionally reduce daily watering to push roots deeper. By Weeks 3–4, watering every other day with longer run times is far more beneficial than daily short sessions. By Month 2, transition to a standard lawn watering schedule of approximately 1 inch of water per week.
What time of day is best to water new sod with a sprinkler?
Early morning — between 5 a.m. and 9 a.m. — is the clear best choice. It minimizes evaporation, allows grass blades to dry before evening, and aligns with the natural growth cycle of turfgrass. In the first two weeks, you’ll also need a second cycle in the late morning or early afternoon. Always finish all watering by 2–3 p.m. at the latest.
How do I know if my new sod has enough water?
Use the finger test: push your finger 1–2 inches into the soil. It should feel damp but not muddy. The screwdriver test also works — it should slide smoothly to the target depth for that week. Visually, healthy new sod stays bright green and springs back when stepped on. A gray-blue tint or visible footprint impressions that don’t bounce back are your first warning signs of stress.
Conclusion
Getting watering right in the first four weeks is the single biggest factor in whether your new sod survives and thrives.
Here’s everything you need to remember:
- Install day: Deep soak to 3–4 inches using cycle-and-soak if needed
- Week 1: 2–3 cycles/day, shorter run times, keep top inch consistently moist
- Week 2: Drop to 1–2 cycles/day, slightly longer runs, begin encouraging deeper roots
- Weeks 3–4: Every other day, long deep cycles, transition toward normal watering
- Always water between 5 a.m. and 9 a.m. — never at night
Your exact run time depends on your sprinkler type, soil, and local climate — use the catch cup test to dial it in precisely for your yard.
Have more lawn care questions? Explore the Gen Lawn blog for guides on everything from fertilizing new sod to choosing the right grass type for your US region. A healthy lawn starts with the right knowledge — and now you’ve got it.
Sources & Further Reading
- UF/IFAS Extension – Watering to Establish a New Lawn
- Sod Solutions – When to Water Newly Installed Sod
- Clemson Cooperative Extension – Lawn Diseases
- Iowa State University Extension – Calibrate Your Irrigation (Tuna Can Method)
- EPA WaterSense – Smart Irrigation Controllers
- Irrigation Tutorials – Types of Sprinkler Heads Explained
- The Sod Guy – New Sod Watering Guidelines
About Author
Khalid Fazal is a seasoned lawn care specialist and horticultural researcher with over 15 years of hands-on experience transforming challenging landscapes into lush, resilient green spaces. His journey didn’t start in a lab, but in a backyard full of stubborn, cracked clay that “experts” said would never grow a healthy blade of grass. Refusing to accept a yard full of dust, Khalid spent years experimenting with organic soil restoration and precise mulching—eventually turning that wasteland into a neighborhood showpiece on a shoestring budget.
From mastering core aeration techniques to optimizing soil pH for specialized turf varieties, Khalid’s approach combines old-school grit with modern agronomic science. He founded Gen Lawn to provide homeowners with honest, research-backed advice that prioritizes long-term soil health over quick-fix chemical solutions. When he isn’t analyzing soil profiles, he’s developing precision tools to help others achieve professional results without the professional price tag.

Lawn Winterizer: When to Apply by Grass & Region [2026]
Table of Contents Home / By Khalid Fazal | Updated:...
Read More
Spring Lawn Care: What to Do and When in Every US Region
Table of Contents Home / By Khalid Fazal | Updated:...
Read More
Lawn Maintenance Checklist by Season and Grass Type (2026)
Table of Contents Home / By Khalid Fazal | Updated:...
Read More
Liquid Fertilizer vs Granular Fertilizer: Which Wins?
Table of Contents Home / By Khalid Fazal | Updated:...
Read More