
How to Use a Lawn Edger: Step-by-Step Guide for Crisp, Clean Lines
That ragged grass creeping over your sidewalk does not just look bad. It tells every person who drives by that the lawn edger in your garage is not being used correctly.
Here is the truth: the tool is not the problem. Most homeowners already have the right equipment. The issue is they skip two or three key steps and wonder why their edges still look uneven.
This guide fixes that. Whether you just pulled a new edger out of the box or you have been using one for years with mixed results, you will walk away knowing exactly how to use a lawn edger to get that sharp, professional finish every single time.
New to lawn care tools altogether? Our DIY Lawn Care for Beginners guide is a solid starting point before diving in here.
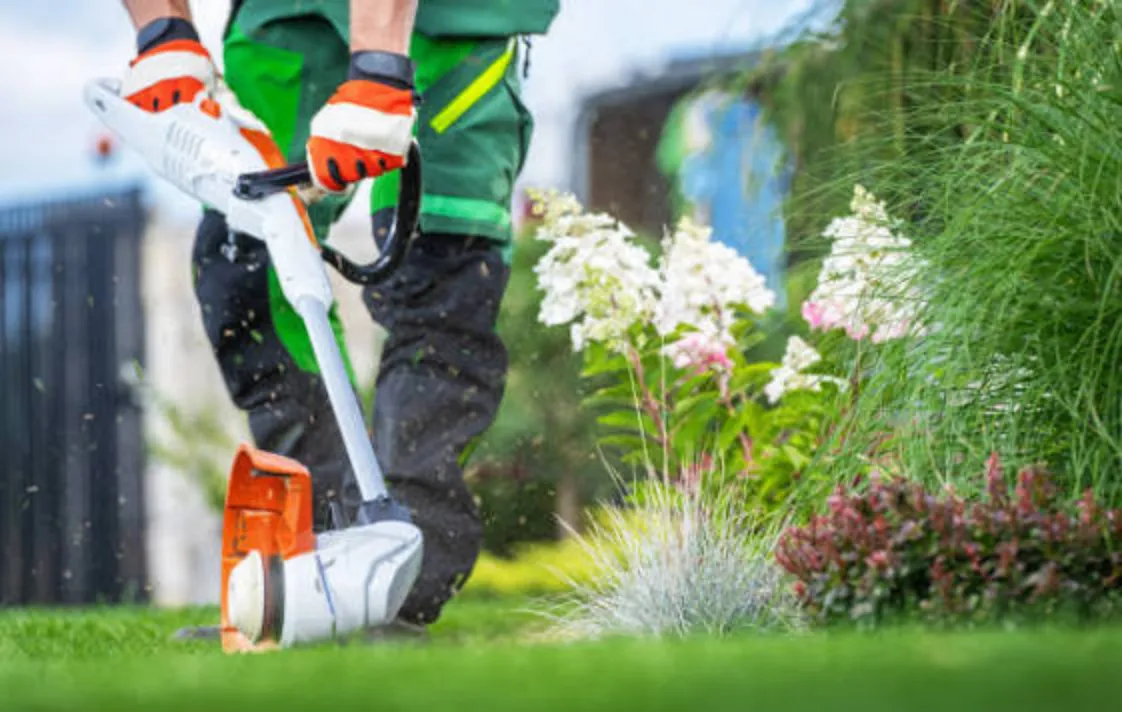
What Is a Lawn Edger (And Why It Is Not the Same as a String Trimmer)
A lot of homeowners use these two tools interchangeably. That is one of the most common mistakes in residential lawn care.
Lawn Edger vs. String Trimmer: Key Differences
A string trimmer cuts with flexible plastic line and is designed to trim grass in spots a mower cannot reach, such as around trees, fences, and foundations. A lawn edger uses a rigid steel blade that slices vertically into the soil, creating a precise, defined trench along hardscape edges like driveways and sidewalks.
Here is a quick side-by-side comparison:
| Feature | Lawn Edger | String Trimmer |
|---|---|---|
| Cutting mechanism | Rigid steel blade | Spinning plastic line |
| Cut depth | 2 to 4 inches into soil | Surface level only |
| Precision | Extremely precise | Requires practice to be precise |
| Best use | Defining lawn borders | Trimming around obstacles |
| Price range | $30 to $300 | $95 to $350 |
Bottom line: a string trimmer can do a rough job of edging in a pinch, but only a dedicated edger gives you consistently clean, defined borders.
Types of Lawn Edgers: Which One Do You Have?
Knowing your edger type helps you get the best out of it.
- Walk-behind edger: Large rotary blade, best for long driveway and sidewalk runs on bigger yards
- Stick edger: The most common homeowner model, available in gas, battery-powered, and corded electric versions
- Manual half-moon edger: A push-operated flat-bladed tool, ideal for small lawns or quick touch-up work
For power source, gas models deliver the most cutting force for large or overgrown lawns. Battery-powered models offer freedom of movement with no cord restriction, making them the go-to choice for most mid-sized yards. Corded electric models are budget-friendly but limit your working range.
Before You Start: Safety Setup and Prep
This section might feel like the “skip ahead” part. Do not. The prep work is where most bad edging results start.
Safety Gear You Need Every Time
Lawn edgers throw debris fast. Rocks, soil, and clippings can eject at high speed, especially during the first few passes on an overgrown edge.
Here is what to wear before you start:
- Safety glasses or goggles: Protect your eyes from flying debris. This is the one item with zero negotiating room
- Closed-toe shoes: No sandals, no exceptions
- Ear protection: Gas-powered models regularly exceed 90 decibels, which is above the threshold that causes hearing damage with prolonged exposure
- Work gloves: Especially important for manual edgers to prevent blisters
Make sure children, pets, and bystanders are well away from the working area before you power on the machine.
Prepping Your Lawn and Edger
A few minutes of prep makes the actual edging faster and cleaner.
Mow first, then edge. This is the standard professional crews follow. Mowing first reveals the true perimeter of your lawn and gives the edger a visible line to follow. The only exception is a severely overgrown lawn where grass has crept far over the hardscape. In that case, cut back the overgrowth with the edger first, then mow.
Clear the path. Walk the entire edging line and remove any rocks, sticks, or debris. A rock catching a spinning blade can damage the edger and create a serious safety issue.
Check the blade. A dull or chipped blade tears the grass instead of cutting it cleanly. If your previous edges looked shredded and brown rather than sharp and clean, the blade needs sharpening or replacement. ECHO USA recommends inspecting blades before every use as part of routine edger care.
Lightly water dry soil. If the ground is bone dry and hardpacked, give the edging line a brief water about 30 minutes before you start. Moist soil cuts far more cleanly and reduces strain on the motor.
Gas models: check fuel and oil levels before starting. Battery models: make sure the battery is fully charged so you do not lose power mid-run.
How to Use a Lawn Edger Step by Step
Here is where it all comes together. Follow these steps in order for the best results.
Step 1: Set the Blade Depth Correctly
This is the step most people get wrong, and it is the one that causes the most damage.
Most edgers have an adjustable depth wheel that controls how far the blade cuts into the soil. For regular maintenance, the safe working range is between 0.5 inches and 2 inches. According to Hutson Inc.’s edger guide, the guide wheel should barely touch the ground while edging, with the blade sitting just at the edge of the pavement.
Here is the key technique: never start at maximum depth.
Start shallow on your first pass to clear surface-level thatch and establish your cut line. Then make a second pass at a slightly deeper setting if needed. This progressive approach protects the motor from overload and prevents you from accidentally exposing bare soil roots by cutting too deep in one shot.
Step 2: Position Yourself and the Machine
Good positioning gives you control and prevents early fatigue.
Stand with your feet shoulder-width apart on firm, stable ground. Keep the edger close to your body rather than extending it out at arm’s length. Grip both handles firmly but without locking tension in your shoulders.
The guide wheel should rest on the hard surface (the sidewalk or driveway), not on the turf. The blade should sit at a true 90-degree angle perpendicular to the ground.
For single-wheel edgers, tilt the cutting head very slightly so the top of the blade leans away from the concrete. This protects the visible upper edge of the pavement while the bottom of the blade handles the cutting, a technique confirmed by Extreme HowTo’s edger guide.
Step 3: Start at a Corner and Move Forward
Never start in the middle of a run. Always begin at a defined corner where two edges meet.
Starting from a corner gives you a fixed reference point and keeps the line consistent from end to end. Once you are positioned, engage the blade and begin walking forward at a slow, deliberate pace.
Let the edger do the work. The machine is built to pull forward on its own. If you feel like you are forcing it through the soil, one of three things is happening: you are moving too fast, the blade depth is set too deep, or the blade is dull. Slow down and reassess before continuing.
Step 4: Handle Curves and Corners
Curves and tight corners are where most people lose the clean line.
The fix is simple: slow down significantly before you reach a curve. Short, controlled passes work far better than trying to sweep through in one motion. Guide the edger carefully and make multiple smaller passes on tight curves rather than forcing one big arc.
For sharp 90-degree corners, come to a near stop, reposition the edger in the new direction, and start fresh rather than trying to pivot mid-cut.
If you are creating a brand-new edge on an area where no trench exists yet, use chalk string or garden stakes to mark the line before you cut. This is especially useful on long curved garden bed edges where the natural boundary is not clearly defined.
Step 5: Clean Up After Edging
The job is not done when the last cut is made.
The edger leaves a strip of loosened soil, grass clippings, and root material along the cut line. If you leave it on the pavement, those clippings dry out, crack, and re-root into pavement joints within days, undoing all your work.
Use a leaf blower or a stiff-bristled broom to push debris off the pavement and back onto the lawn. Rake or bag it if needed.
Walk the entire edge after cleanup and inspect for uneven sections, gaps, or spots where the blade went deeper than intended. Touch up any inconsistencies before you put the edger away.
For the complete finishing touch after edging, pair the clean border with fresh mulch along your garden beds. Our Edging and Mulching: Complete Guide to a Polished Yard walks through exactly how to do this.
How Often Should You Use a Lawn Edger?
The professional rule of thumb is to edge every time you mow during the active growing season.
But frequency also depends on your grass type. Grasses that spread through stolons (above-ground runners) or rhizomes (below-ground runners) creep onto hardscapes much faster than bunch-type grasses and need more frequent edging to keep them in check.
Here is the breakdown by grass type, based on research from LawnLove’s edging frequency guide:
| Grass Type | Spreading Method | Recommended Edging Frequency |
|---|---|---|
| Bermudagrass | Stolons and rhizomes | Weekly in summer |
| Zoysiagrass | Stolons and rhizomes | Weekly in summer |
| St. Augustinegrass | Stolons only | Every 1 to 2 weeks |
| Bahiagrass | Stolons and rhizomes | Every 1 to 2 weeks |
| Kentucky Bluegrass | Rhizomes (slow-spreading) | Every 2 to 3 weeks |
| Tall Fescue | Bunch-type | Every 2 to 4 weeks |
| Fine Fescue | Some rhizomes | Every 2 to 4 weeks |
Reduce edging frequency in fall as grass growth slows down. Once the lawn goes fully dormant in winter, stop edging entirely until spring growth resumes.
For a full season-by-season breakdown of what your lawn needs and when, see our Seasonal Lawn Care Guide.
Pro Tips to Get Landscaper-Level Results
These small adjustments separate decent edges from great ones.
Replace blades on schedule. A sharp blade makes a clean slice. A dull blade tears the grass and leaves a brown, frayed edge. Inspect the blade every few sessions and replace it at the first sign of significant wear or chipping.
Edge when the grass is dry. Wet grass clogs the blade guard and creates uneven results. Dry conditions give you the cleanest cuts every time.
Maintain the edger after every use. Clear grass, soil, and debris from the blade guard and air vents after each session. Buildup reduces cutting performance and can cause the motor to overheat during longer runs.
Keep the trench depth consistent over time. Once you establish a defined border trench, maintenance edging gets easier with each pass. A consistent depth of 1 to 2 inches keeps the border sharp and prevents it from softening back into the lawn between sessions.
Common Lawn Edging Mistakes (And How to Avoid Them)
Even experienced homeowners make these errors. Here is what to watch for before your next session.
Going too deep on the first pass. Starting at maximum blade depth on packed soil overloads the motor and can expose root zones that widen the trench permanently. Always start shallow.
Moving too fast. Speed creates wavy, inconsistent lines. Let the machine set the pace and match it with a slow, controlled walk.
Starting mid-path. Beginning anywhere other than a defined corner makes it almost impossible to maintain a straight reference line across the full run.
Skipping post-edging cleanup. Leaving clippings on the pavement is not just untidy. Those clippings dry, crack, and re-root into pavement joints within a week, softening the clean edge you just created.
Using a dull blade. If edges look torn and brown rather than sharp and clean, replace the blade. A worn blade beyond basic dulling should be replaced entirely rather than just sharpened.
Edging in the same direction every time. Consistently cutting from the same direction can cause the trench to lean slightly over time. Alternate your direction occasionally to maintain a straight, vertical trench wall.
Frequently Asked Questions About How to Use a Lawn Edger
How deep should a lawn edger cut?
For regular maintenance, set the blade depth between 0.5 inches and 2 inches. Start with the shallower setting, then make a second pass slightly deeper if needed. According to Hutson Inc., the blade should just barely scrape the sidewalk edge while maintaining a 90-degree angle to the ground. Never start at maximum depth, especially on dry or hardpacked soil.
Should I edge before or after mowing?
In almost all cases, mow first and then edge. Mowing first reveals the true perimeter of the lawn and makes it much easier for the edger blade to follow a clear line. The only exception is a severely overgrown lawn where grass has crept far onto the hardscape. In that case, edge first to cut back the overgrowth, then mow to clean up the rest.
Can I use a lawn edger along garden beds?
Yes, with some care. Power edgers work best along hardscape surfaces like concrete and asphalt. For curved or irregular garden bed borders, a manual half-moon edger often gives you more precision and control than a power model. If your power edger has an adjustable pivot head, it can handle some soft-edge work as well.
Is a lawn edger the same as a string trimmer?
No. A string trimmer uses flexible plastic line to cut grass horizontally and is built for trimming around obstacles. A lawn edger uses a rigid steel blade that cuts vertically into the soil to create a defined border trench. While a string trimmer can do rough edging in a pinch, it cannot match the precision and depth of a dedicated edger. See the full comparison from BobVila for a detailed breakdown.
How often should I edge my lawn?
During the active growing season, edge every time you mow for the cleanest results. Fast-spreading grasses like Bermuda and Zoysia may need edging weekly. Slower bunch-type grasses like Fine Fescue can often go two to four weeks between sessions. Reduce the frequency in fall and stop entirely once the grass goes dormant in winter.
Conclusion
Getting clean, sharp edges every time comes down to five core principles:
- Prep properly: mow first, clear the path, check the blade condition
- Set blade depth shallow and go progressively deeper over multiple passes
- Walk at a slow, steady pace and let the edger pull itself forward
- Clean up clippings and debris immediately after every session
- Edge on a schedule that matches your specific grass type
Stick to those five things consistently and your lawn borders will look professionally maintained every single time you step outside.
Ready to go further? See our 15 Landscape Edging Ideas guide to see how clean edges combined with smart border design can completely transform your yard’s curb appeal.
About Author
Khalid Fazal is a seasoned lawn care specialist and horticultural researcher with over 15 years of hands-on experience transforming challenging landscapes into lush, resilient green spaces. His journey didn’t start in a lab, but in a backyard full of stubborn, cracked clay that “experts” said would never grow a healthy blade of grass. Refusing to accept a yard full of dust, Khalid spent years experimenting with organic soil restoration and precise mulching, eventually turning that wasteland into a neighborhood showpiece on a shoestring budget.
From mastering core aeration techniques to optimizing soil pH for specialized turf varieties, Khalid’s approach combines old-school grit with modern agronomic science. He founded Gen Lawn to provide homeowners with honest, research-backed advice that prioritizes long-term soil health over quick-fix chemical solutions. When he isn’t analyzing soil profiles, he’s developing precision tools to help others achieve professional results without the professional price tag.

Lawn Winterizer: When to Apply by Grass & Region [2026]
Table of Contents Home / By Khalid Fazal | Updated:...
Read More
Spring Lawn Care: What to Do and When in Every US Region
Table of Contents Home / By Khalid Fazal | Updated:...
Read More
Lawn Maintenance Checklist by Season and Grass Type (2026)
Table of Contents Home / By Khalid Fazal | Updated:...
Read More
Liquid Fertilizer vs Granular Fertilizer: Which Wins?
Table of Contents Home / By Khalid Fazal | Updated:...
Read More